Homemade yogurt is seriously easy, and so worth it. I don't know why, but it just tastes better. And it is cheap. Do you know what makes baby yogurt for babies? I will tell you. Full fat milk, no added sugar. It must be all those tiny packages that make it so pricey. *rolls eyes*
So make your own. Save some dough.
First you need some stuff...
Half a gallon of milk, 1 cup of plain yogurt (mine is set aside from the last batch, but anything with live cultures will work, I like to use Greek yogurt because it has the most cultures), a kitchen thermometer, and a big pot.
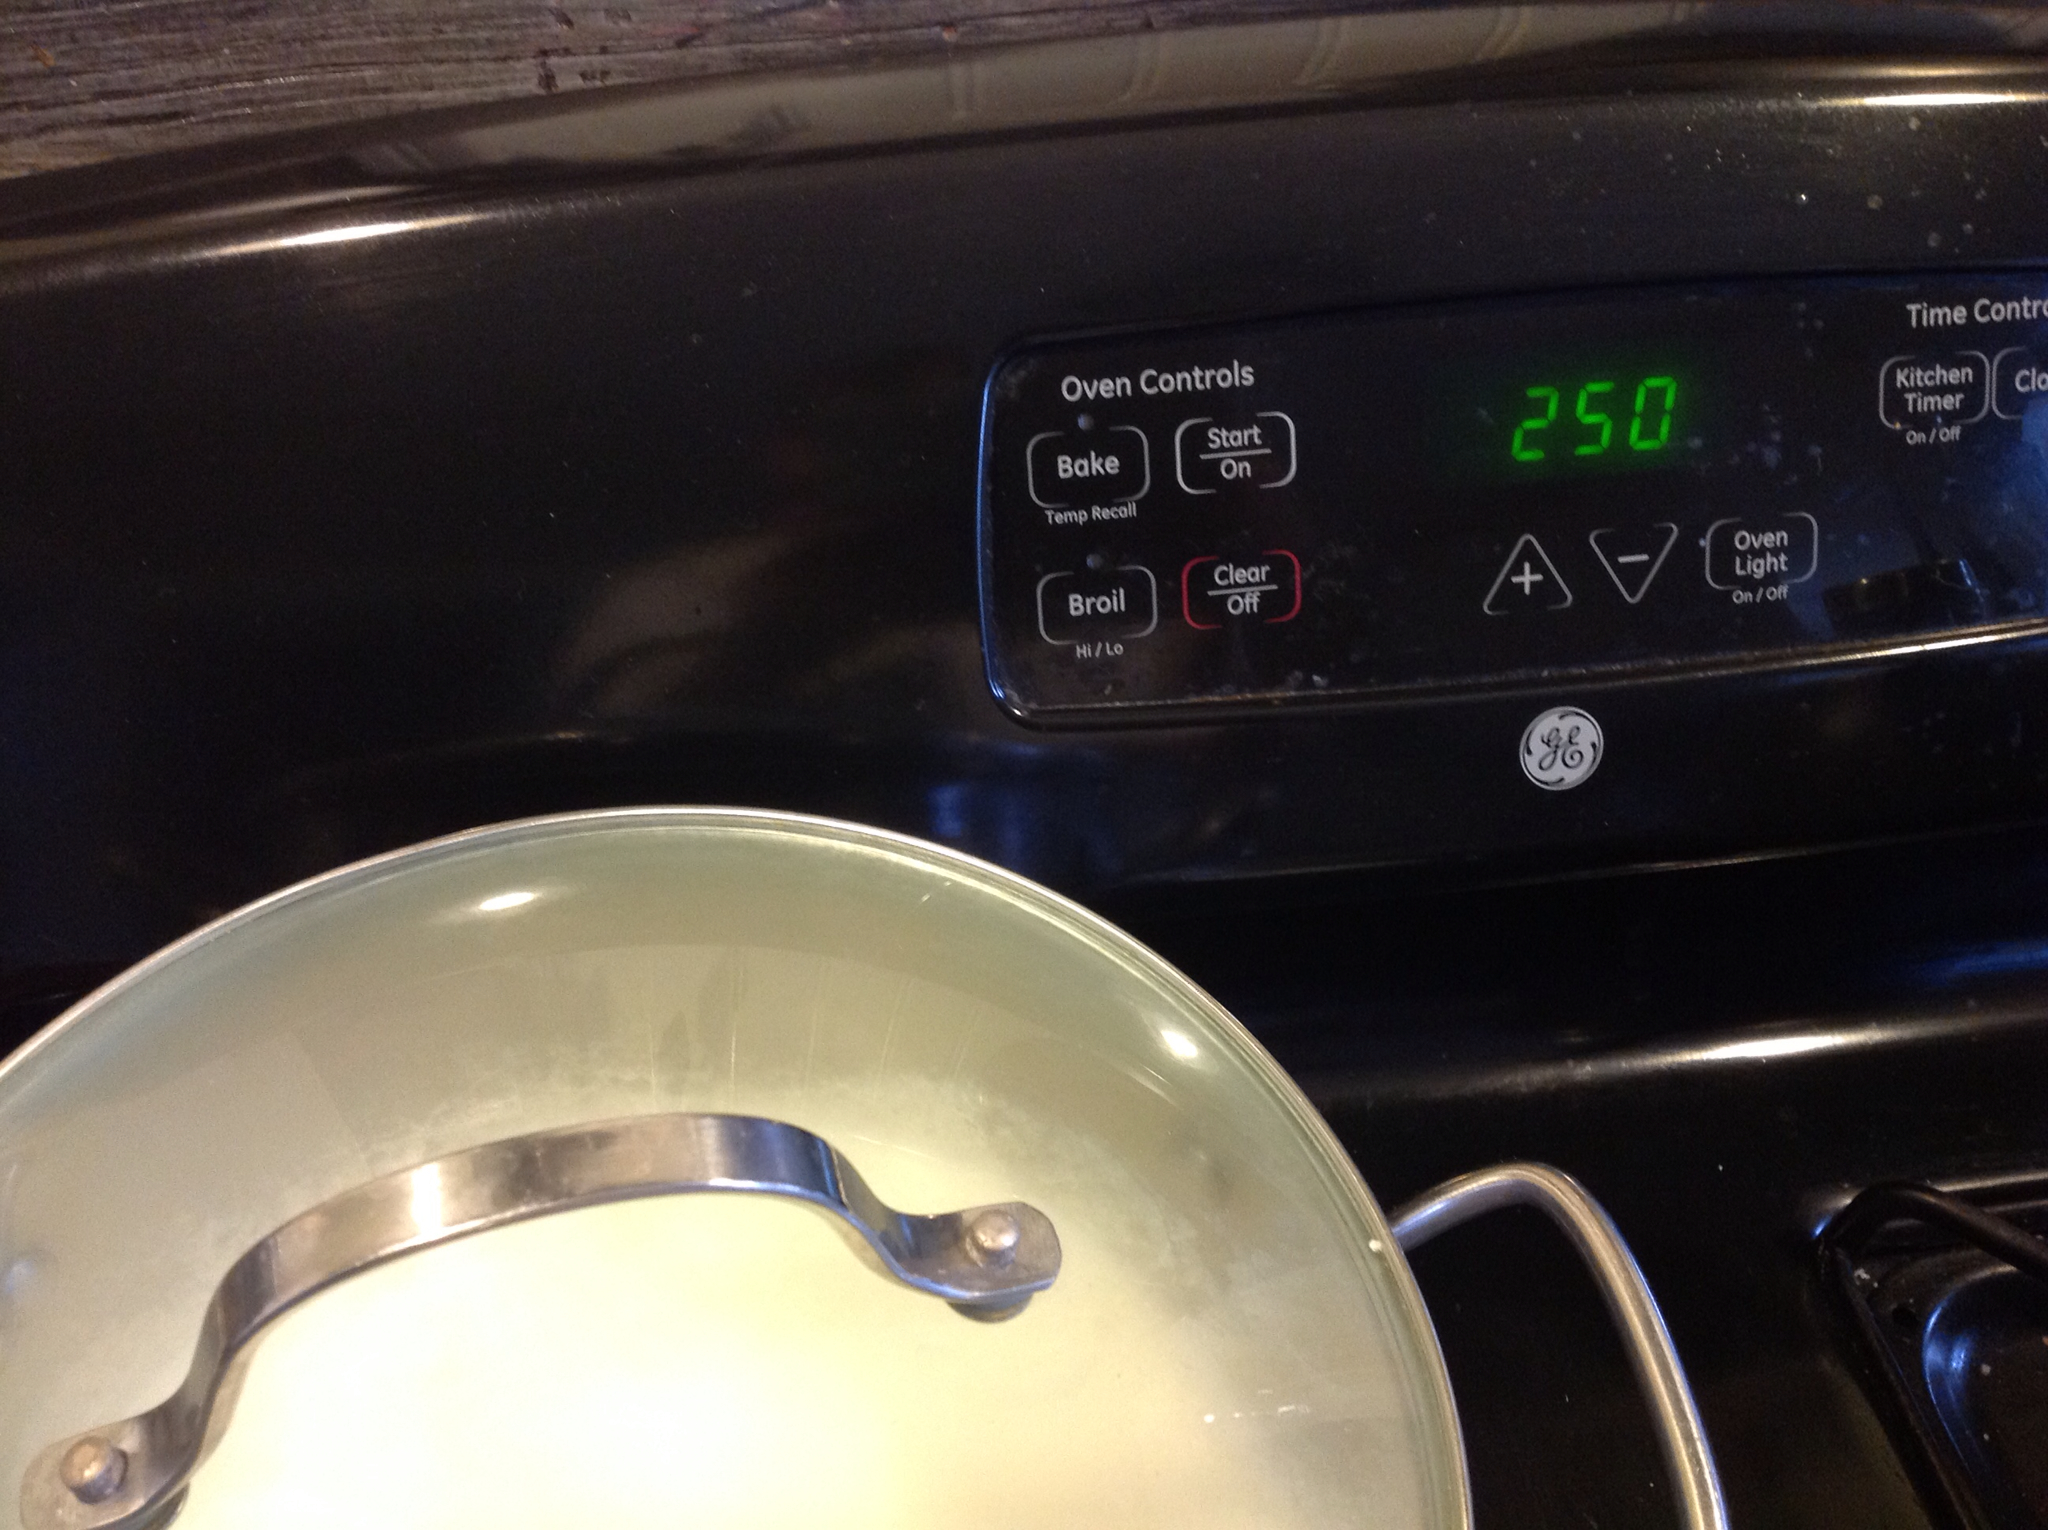
Dump your milk into the pot and turn on the heat about medium high. Preheat your oven to 250 degrees.
Bring the milk to about 140-150 degrees. Small bubbles will form at the edge, but do not boil. Turn the oven off, we just want a warmish place for the yogurt cultures to hang out while they do it. Yup. There will be an orgy in your oven, but you are not invited.
Let the milk cool to about 110 degrees. Stirring helps, but ignoring it to play zoombus with your kiddo works too. (I may have played a little too much zoombus.)
Remove about 2 cups of the warm milk.
GENTLY stir in the starter yogurt. Your personal assistant can help you with this. Remember that yogurt is a living thing, we don't want to whisk it to death. (I had some leftover Activia from when my Mom visited, I threw that in too. My yogurt will have so many cultures! Muahahaha!)
GENTLY pour the yogurt starter back into the pot. Cover and place in a warmish, dirty oven. (Don't worry, if your oven is clean it will still work.)
Now, the hard part. Do not touch, stir, or disturb the yogurt in any way. It needs its privacy. Remember, those little yogurt cultures are getting it on, and you are not invited. Go play Mommy Gorilla or something. Put a note on the stove so your hubby doesn't ruin all your hard work by preheating the oven the second he walks in the door. (Why does he preheat the oven? I don't get it.) (Also, be sure to let your hubby believe that this was really, really hard. It will taste better that way.) Wait 6-12 hours. More hours=thicker, more tart yogurt. Less hours=thinner, sweeter yogurt.
This is what your fresh yogurt will look like. It's probably runnier than you expected. At this point it is the perfect consistency for egg substitute, smoothies, frozen yogurt pops, ranch dressing, or for granola yogurt parfait (I see more yogurt posts in my future).
You can strain it in clean muslin over the sink to thicken it. I like to catch the whey for use in breads.
You can customize the yogurt to your preferred sweet/tart balance and your preferred thickness. Thick yogurt can be used as ranch dip, sour cream, cheese starter, or just gobbled up with berries and honey. Make your own custom flavors by mixing in some puree of whatever. Trust me, you are going to love this. Enjoy!
Jen


How long does your batch of homemade yogurt last?
ReplyDeleteIt is important to use fresh milk, it should last at least to the date on the carton. That said, on the rare occasion that it isn't eaten within a few days, to still seems fine two weeks later. I have also heard you can freeze it, but I have not tried that.
ReplyDelete