
This post is not about THAT Humpty Dance, or the other one. It's about making my Personal Assistant his very own Humpty Dumpty doll. So no juicy tidbits here...but I will admit to singing and dancing to a ridiculous made up song while I ironed Humpty's parts, and announced to the Hubster (who was doing his best to ignore me and watch some sport game called "March Madness". Whatever.) Look at me! I'm doing the Humpty Dance!" (I was not doing the Humpty Dance, I am not that cool.)
Anyhow... If your kid is oddly obsessed with Humpty and his imaginary dinosaur adventures like my Personal Assistant is, you may want to follow along. A good Humpty is hard to find. (Why are they all creepy?) Sometimes you just need to make your own. (I am curious, when did this get weird for you? Because I am feeling totally awkward, and just not because I am writing this on my iPad in the bathroom while hiding from my kid. Although, truth be told, that admission is also a bit awkward.) Moving on...

Gather your supplies. I used some scrap fabric and an old white t-shirt. You will also need stuffing.

Fold a piece of paper in half and draw an egg shape.

When you unfold it, round off any odd edges and draw a face and a line for Humpty's high waisted pants.

Cut out the egg body from the t-shirt material. You will need two eggs (front and back.) Leave a 1/2" seam allowance.

Cut along the pant line to make your pattern look Canadian.

Fold the pattern in half and fill in the other half on one of your eggs.

Embroider the smile and eyes on the egg.

Use the bottom half of the pattern to cut out two half moons these will be the pants. Use your iron to turn the top seam of the pants over by at least 1/4"

Top stitch the "pants" to the "eggs". Now it's time for the tricky stuff.

Cut a 3"x9" rectangle for the bow tie.

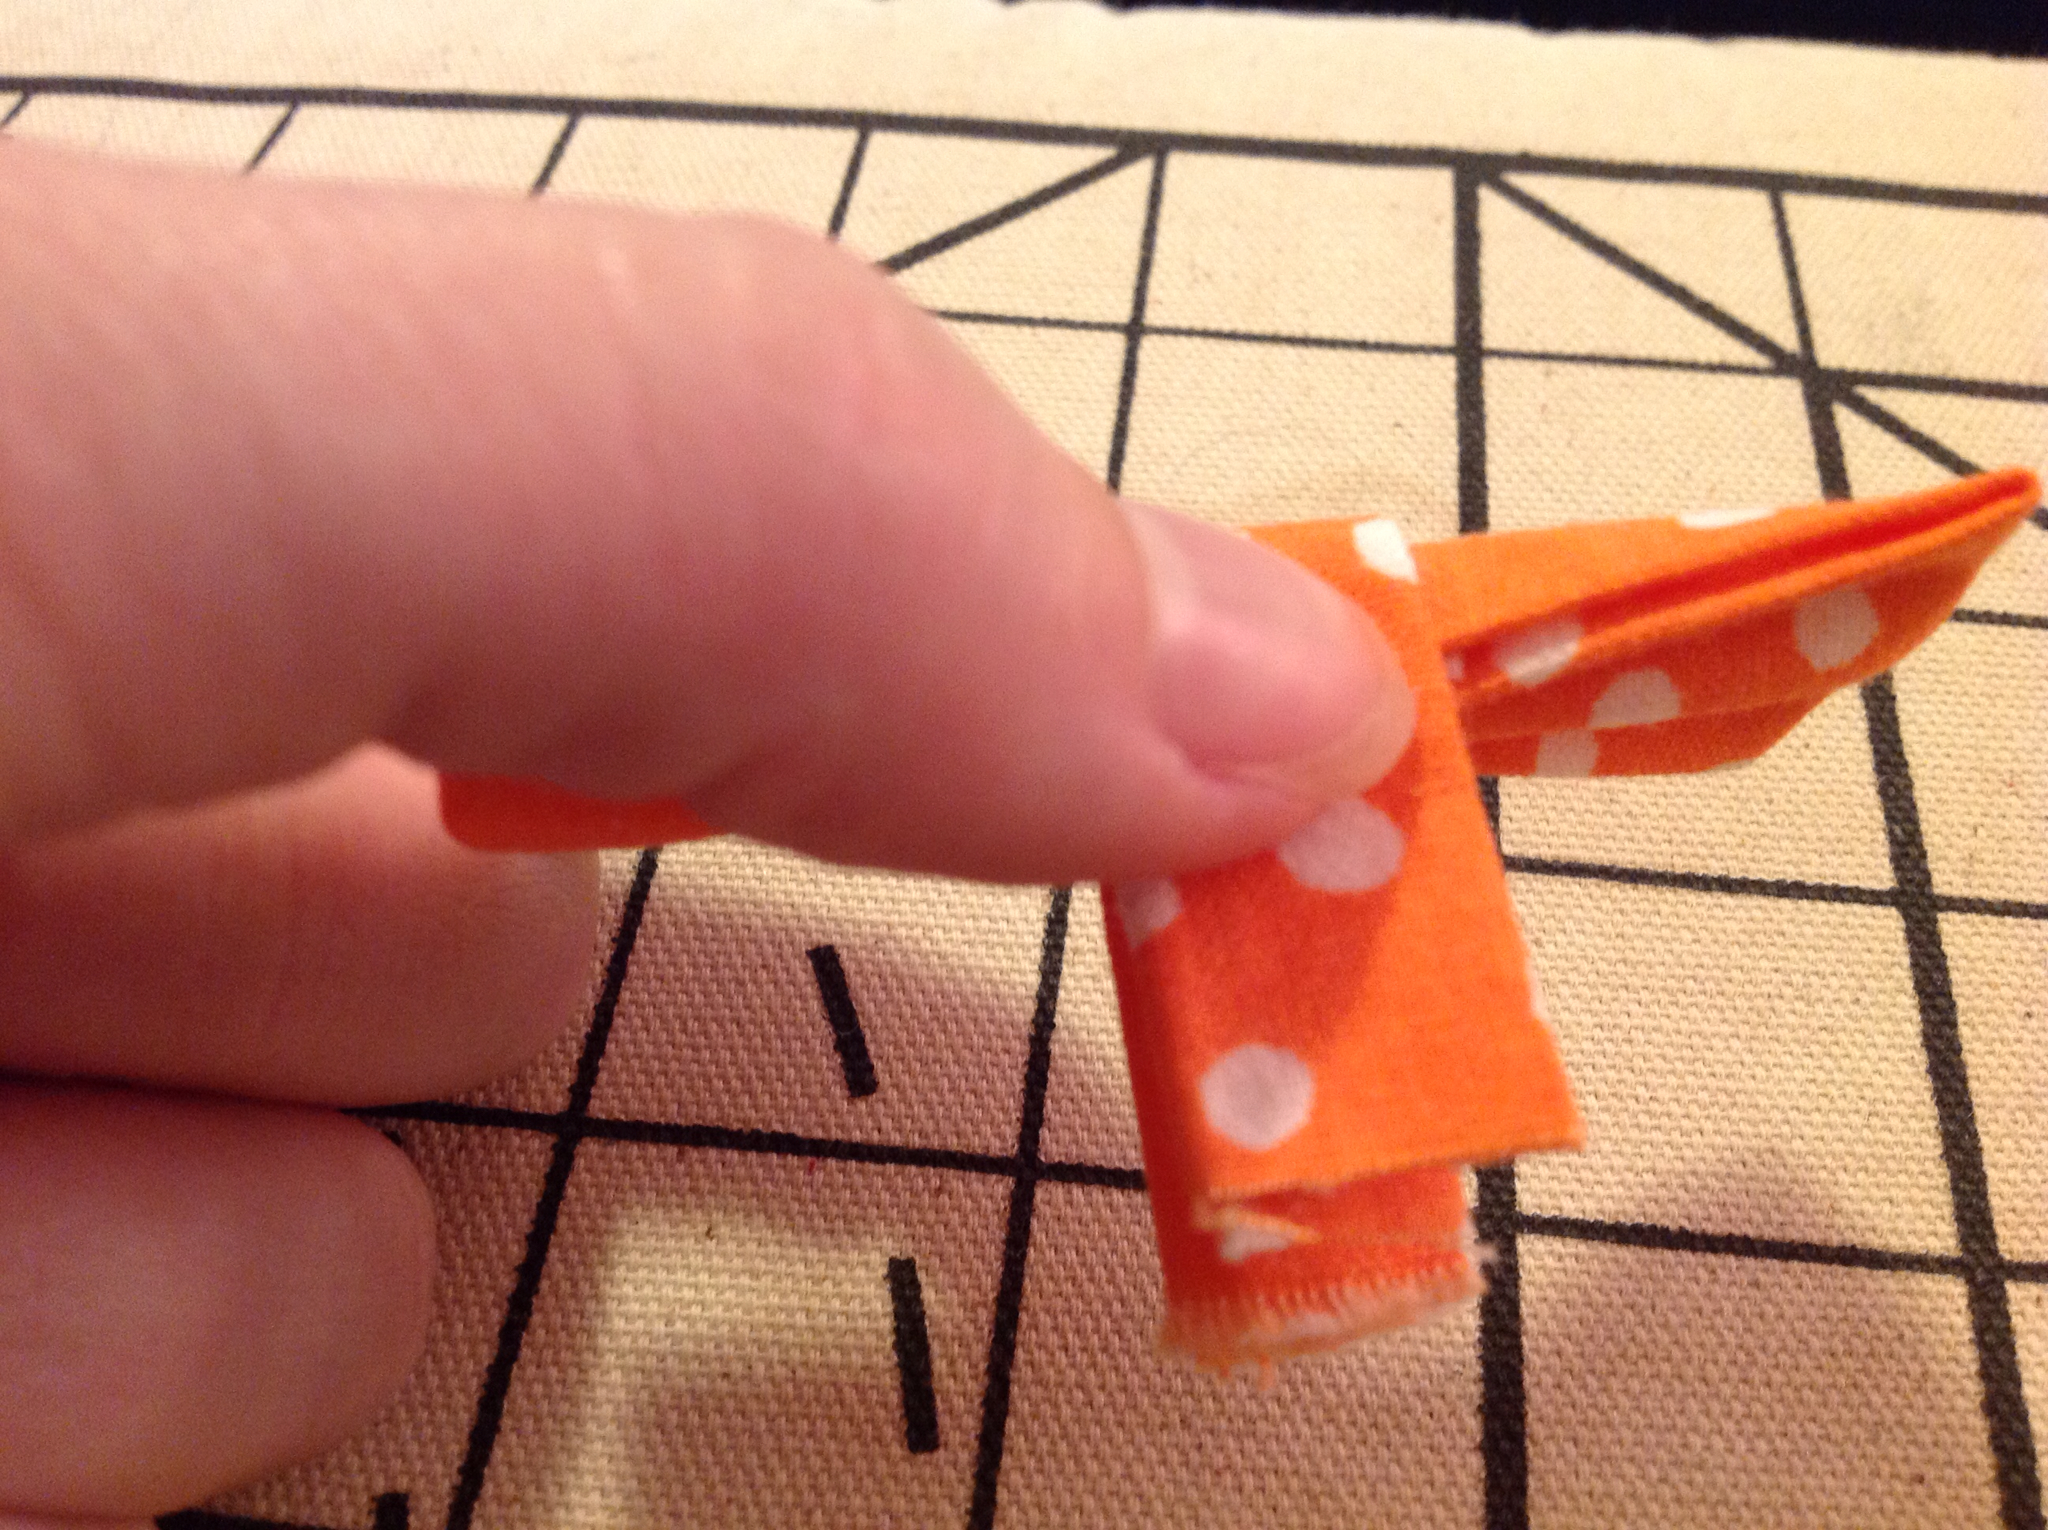
Iron it to the middle as if for bias tape. Then cut off 3".

Iron the 3" section to the middle lengthwise. Iron the 6" section to the middle width wise, overlapping in the middle.

Straight stitch down the middle. This is the body of the bow tie.
Wrap the skinny 3" piece around the body of the bow tie.

The front should look like this.

Tis is the back. You will need to hand stich it closed, then securely whip stich it to the body.

Now the face and bum bum bum are done. Congratulations.

Cut out these weird shapes for the arms.

And these weird shapes for the legs.

Slowly, slowly, slowly stitch around the arms and legs. You may need to turn the fly wheel by hand and pick up the foot with the needle down every other stitch to get around those corners. Back stitch at the ends so they won't pull apart when you stuff them. Turn them inside out. I found a pencil worked well for this. Stuff them about half way, using the pencil to really jam the stuffing in there.

When they are all half stuffed, stitch across the middle of each appendage, back stitching at the beginning and end. I find my zipper foot works well for this. On the legs, rotate them before you stitch so that the seam runs up the middle of the front of the leg. This will make the foot stick out straight.

Finish stuffing the arms and legs, leaving about 1/2" at the end empty. Pin them to the front egg piece, and stitch them to secure.

Yea! The front is done!

Fold the arms and legs back in and pin them together.

Pin the back on carefully, and sew, leaving 2" open for turning.

Trim the excess then turn.

Now you have what looks like a fried egg with arms and legs. You should stuff him now.

Once he is stuffed, pin the opening shut and blind stitch. Add some hair if you are so inclined.

Enjoy watching your personal assistant love on his new Humpty Dumpty. If you are lucky, he might even do a dance.
Jen
Oh my god you are a genius. Hey, guess what? I can make a robot out of Styrofoam. Jealous?
ReplyDelete-Daisy